Easy Art Projects for Kids at a Tabling Event
This weekend I will be setting up four kids arts & crafts tables in Brooklyn at the Shop Up New York event hosted by the fabulous Babyccino. If you happen to be local, please come by and shop and say hello, I would LOVE to see you!
[ UPDATE: See photos from the event here! ]
I spent a large amount of time trying to figure out what to do for this event. I was restricted by the very small table size (30″ round) and the vast amount of children that could potentially be coming through during the 2-day event (they said plan for 200). I have had these two galvanized tiered displays for years. I don't even remember where I bought them and they have remained in their boxes in the garage, until now! I found them again in our move, and I think (I hope) that they will be perfect for the small table.

The post contains affiliate links. Thank you for your support!
You can find a similar 3-tiered stand on Amazon Prime, or if you are more patient and willing to wait and want it cheaper, this website sells the same one.
My main goal for these tables are that they are open-ended and self-evident. I want the tables to be like an invitation to create. There should be no right or wrong, anything goes. I don't assume that I will be available for every person that needs me. In fact, I hope to mingle and chat! So the kids need to be able to use the supplies and make stuff without an adult's help. The fun part about open-ended crafts is that no two will look alike. I can't wait to see what the kids come up with, their ideas are always more creative and superior to any of my own attempts.
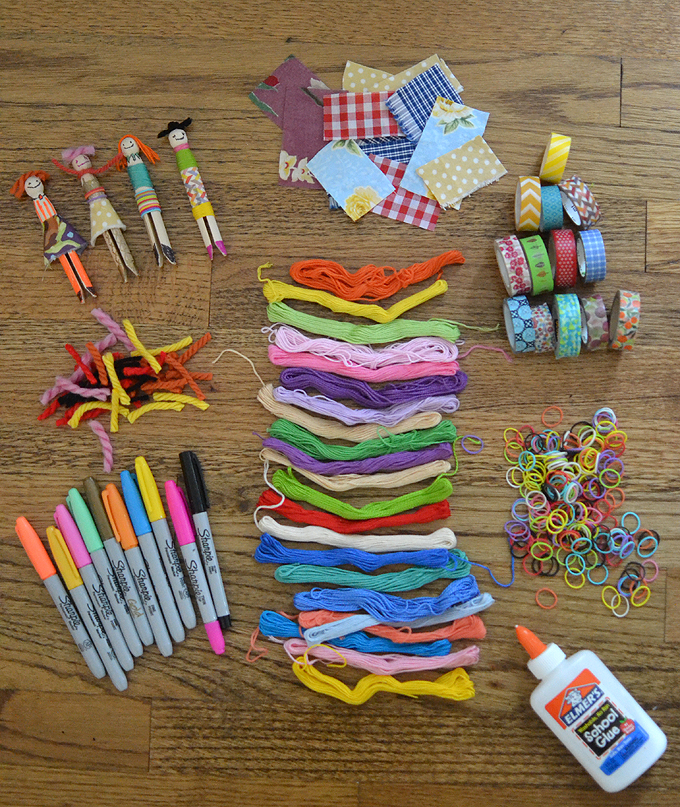
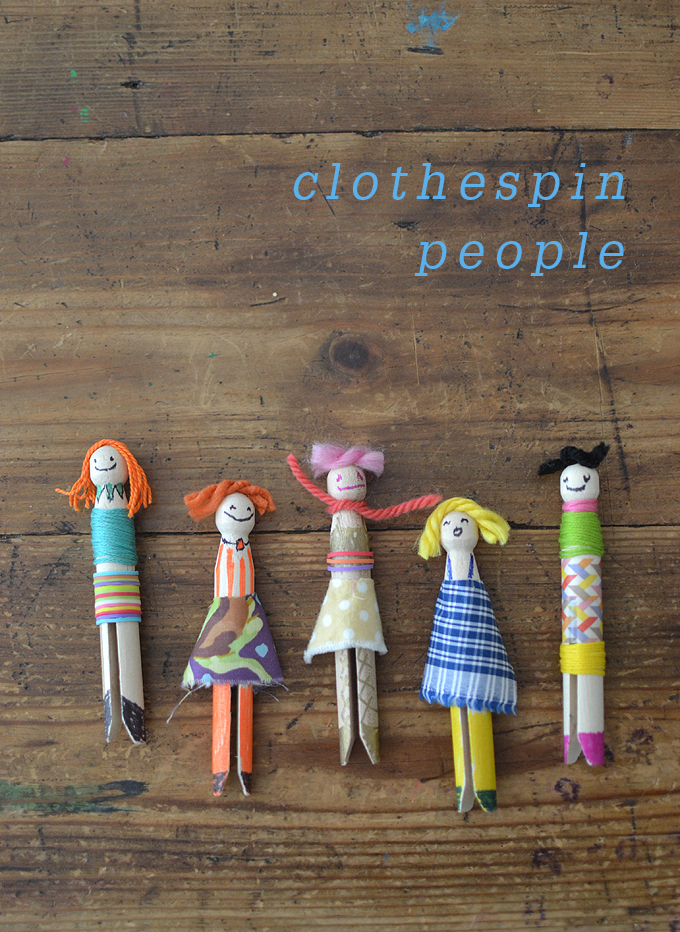
Table one: Clothespin people
SUPPLIES FOR CLOTHESPIN PEOPLE
~ Wooden traditional clothespins
~ Sharpies (black fine tip and also lots of colors)
~ Washi tape
~ Embroidery floss
~ Small yarn pieces for hair
~ Rainbow loom elastics
~ Fabric swatches
~ Scissors
~ Glue
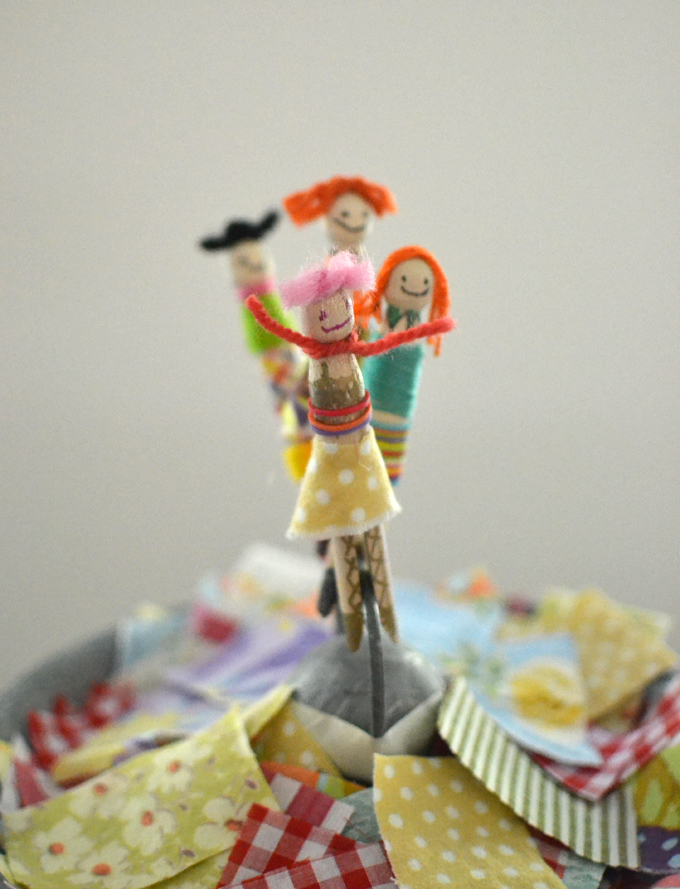
I really hope these aren't too frustrating for the little ones. My wish is that the littles ones will just use the sharpies to color in their people, and maybe some tape. The older ones can make their dolls more intricate. I am also bringing along the Shoebox Mansion (hopefully I can fit it in the space) so the kids can play with their dolls. We shall see how that goes.
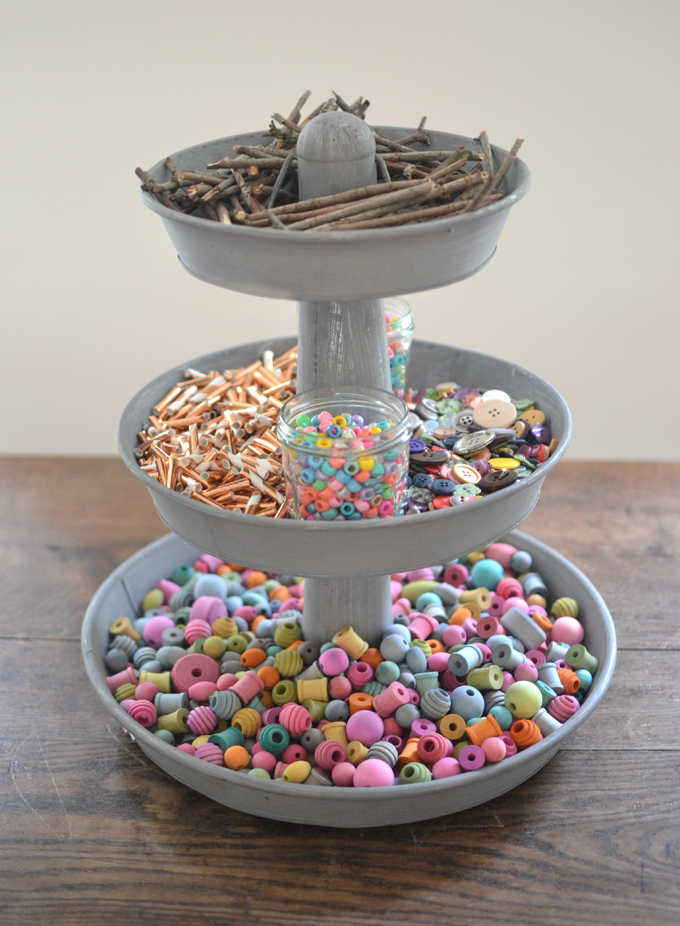
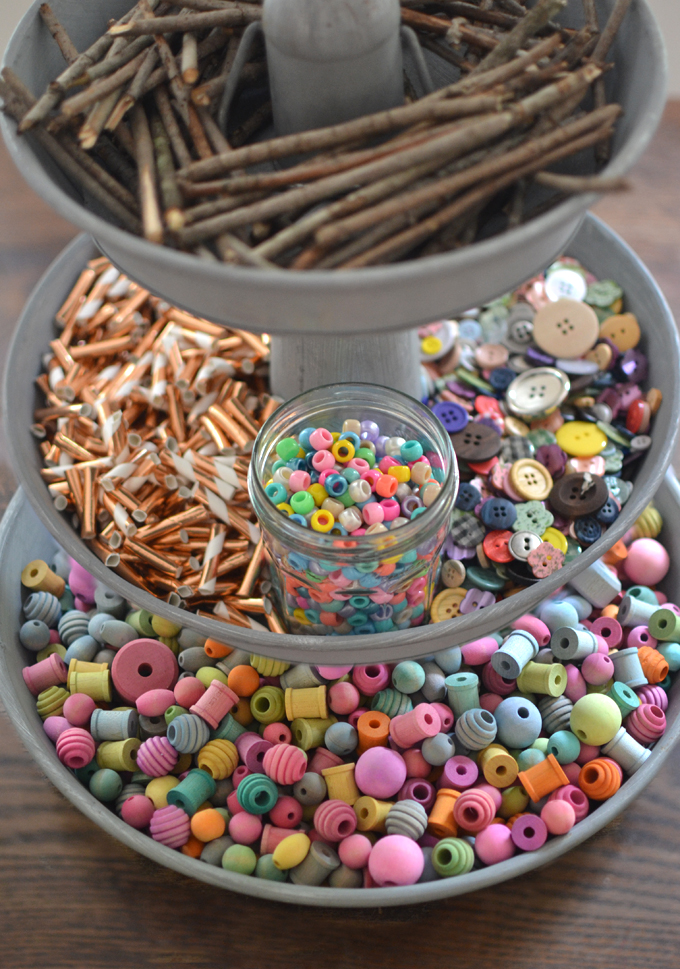
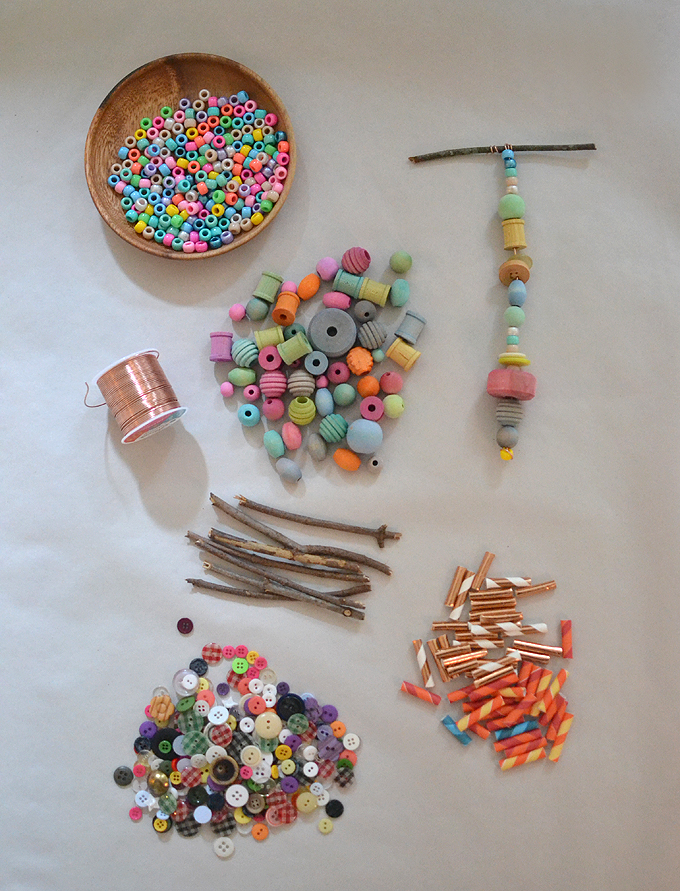
Table two: Wooden bead and button mobiles
SUPPLIES FOR WOODEN BEAD MOBILES
~ Wooden beads (I dyed 1600 beads, imagining that each person might use 8 beads per mobile), round shapes and spool shapes
~ Liquid watercolor
~ Pony beads
~ Buttons (I have a collection of my own, but I added to that from Oriental Trading)
~ Paper straws (these gold ones and these colored ones)
~ Craft wire (I'm using 18-gauge copper)
~ Twigs (3″-4″ pieces)
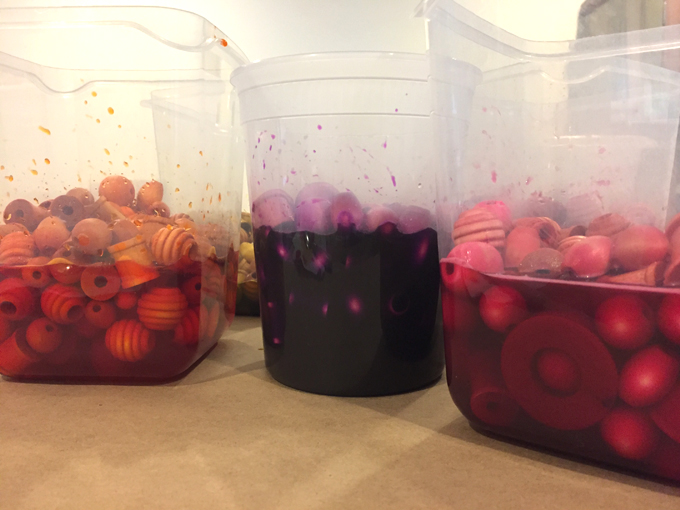
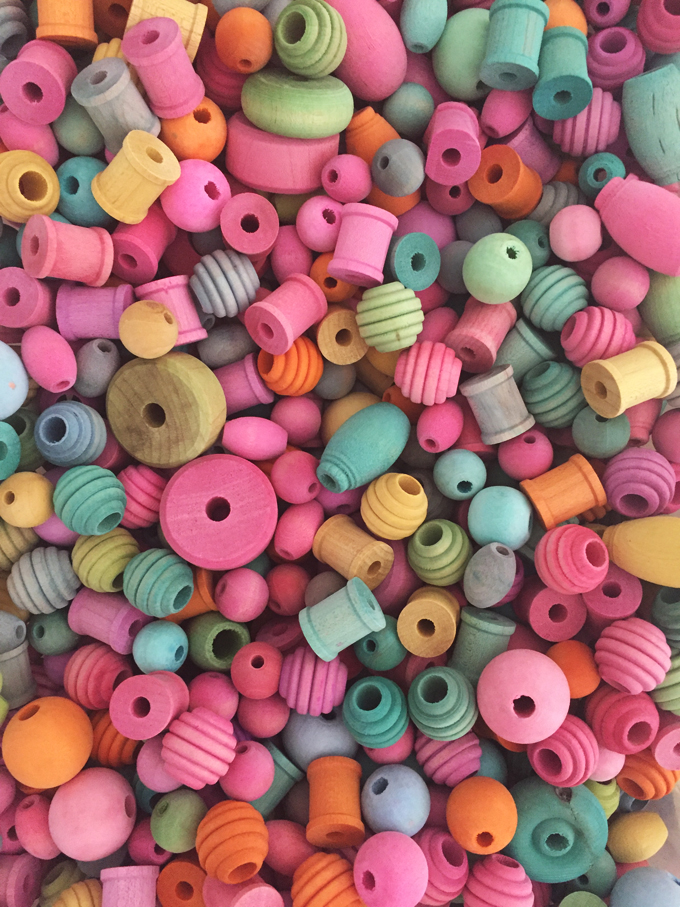
HOW TO DYE WOODEN BEADS
It's very easy actually.
Step 1: Gather all of your plastic deli containers.
Step 2: Fill them up halfway with a liquid watercolor/water mix. Adding water depends on how deep a color you want.
Step 3: Place the beads inside the containers.
Step 4: Mix them around for a few minutes.
Step 5: Drain them in a colander, then let them dry on some paper towel.
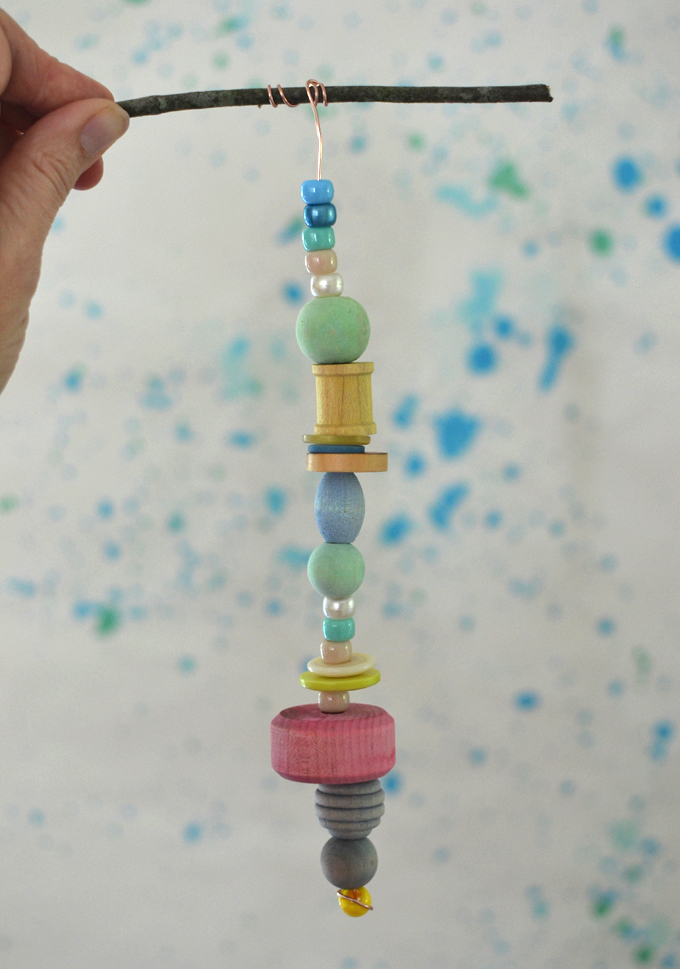
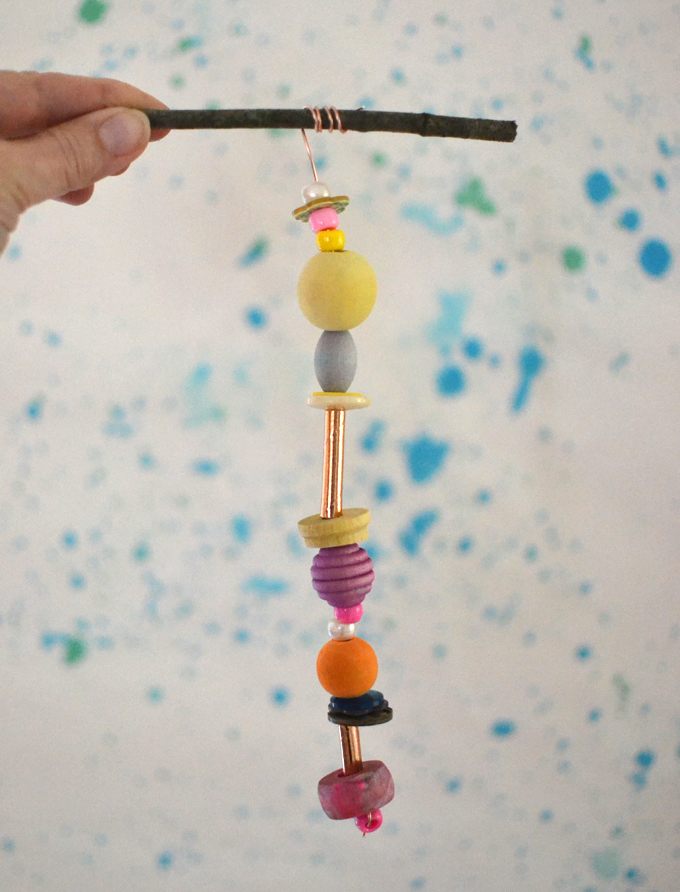
I prepped the wire so that the 12″ pieces have a stopper bead at the bottom. I am assuming beads will fall on the floor (you can bet I will be on hands and knees picking them up!), and I need to make sure that the kids leave some room at the top of the wire to wrap around the twigs. Hopefully they can figure this out themselves!

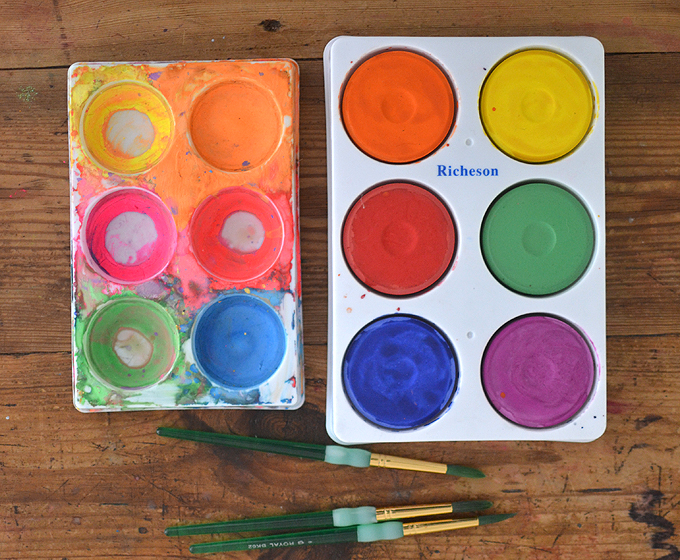
Table three: Mini painted paper pinwheels
SUPPLIES FOR PAINTED PAPER PINWHEELS
~ Paper pinwheels (I usually make my own, but this time I bought them from Party City. Amazon also has them, but they are more expensive.)
~ Washi tape (just to double secure the closing, and for a decorative flair)
~ Paints (fluorescent tempera cakes, and regular tempera cakes)
~ Yarn & Pony beads (optional)
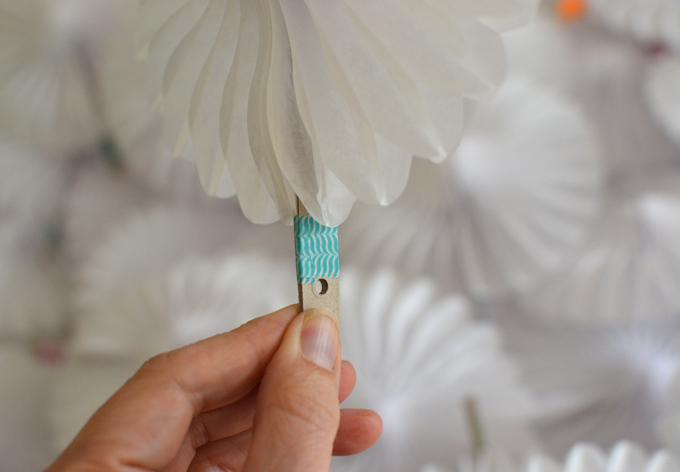
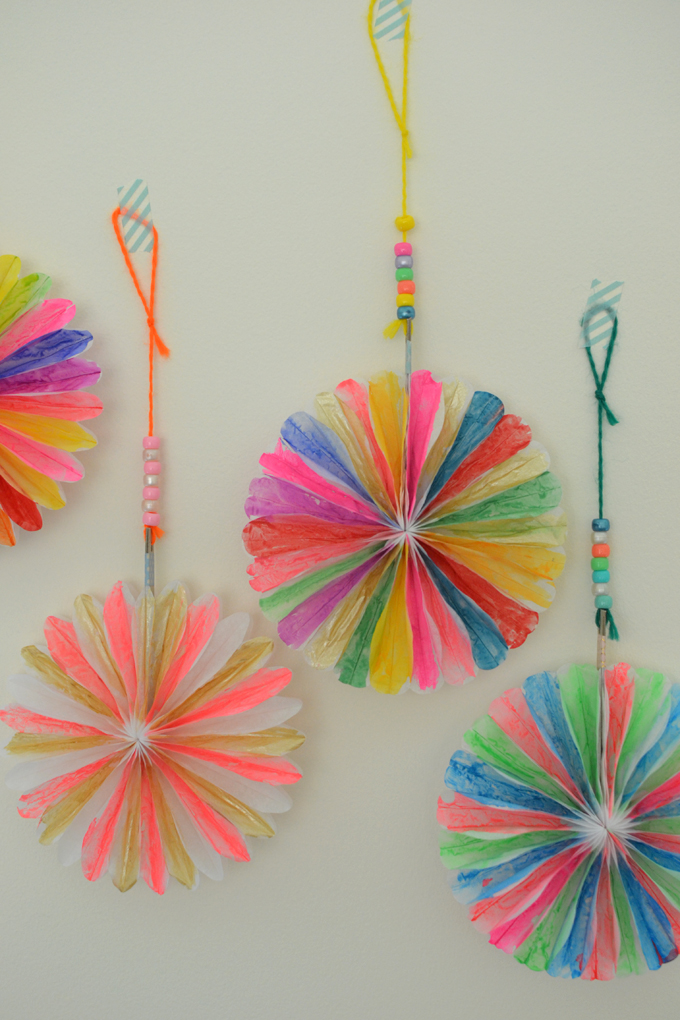
Although the paper used to make these pinwheels is slightly coated and shiny, it takes the paint very easily. I love the way they are finished off with the yarn and beads, but I really don't think I have the room to put out the yarn and beads. I might just tie yarn to each one before I set them out, and eliminate the beads.
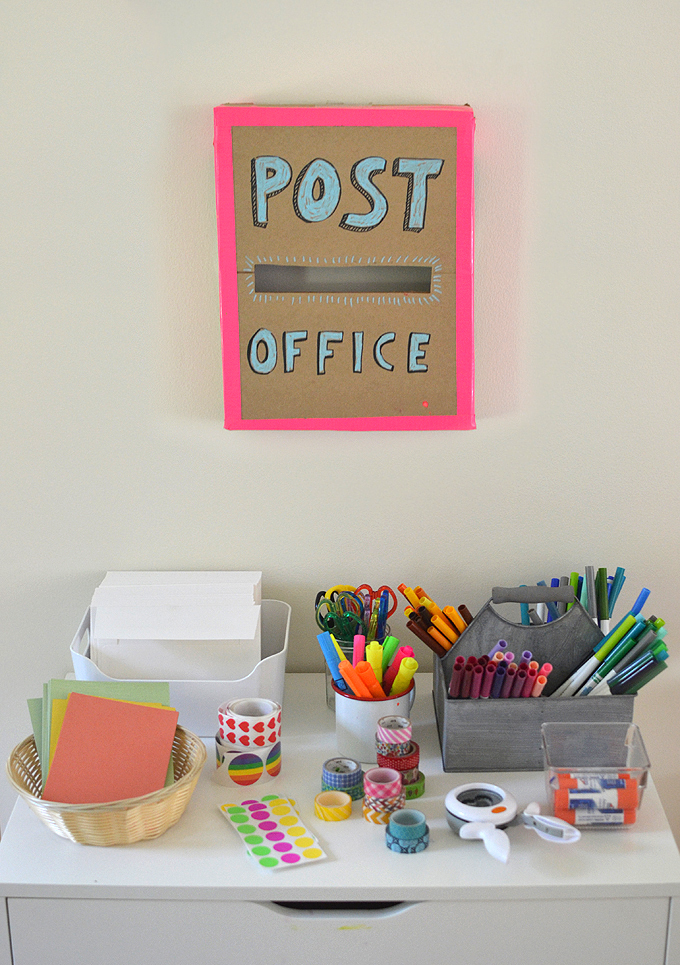
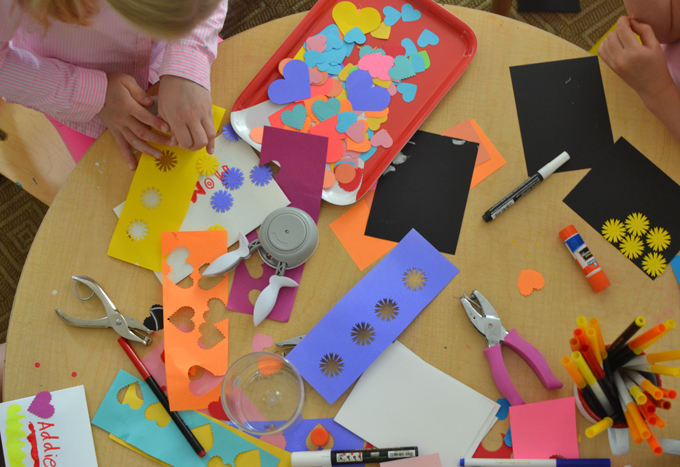
Table four: Making artsy mail
SUPPLIES FOR ARTSY MAIL
~ Envelopes (I have so many leftover from when I used to design invitations, but A-7 would be the best size if you are buying some)
~ Card stock (in white and/or colors)
~ Paper scraps
~ Stickers (anything you have lying around, also I love the neon labels)
~ Washi tape
~ Markers & highlighters (kids love highlighters)
~ Scissors
~ Glue sticks
~ Paper punches (these squeeze ones are my fave)
I set out an artsy mail table every week in summer camp. This photo above is from one of those weeks. It's a station where kids can come and go as they finish up bigger projects.
I think this table will be the easiest for the littlest ones. Anything goes. Kids LOVE stuffing things in envelopes, so I suspect that this table will be quite busy! I don't think I'll bring the cardboard mailbox, though. I use that one in art class because it's a small group. But with 200 children, I think it will get hard to remember whose is whose after dropping in the box.
Hope to see you there!!
xo Bar
[ UPDATE: See photos from the event here! ]
– – – – – – – – – – – – – – – – – – –
Did you like this post? Here are three more posts about setting up art projects for a group:
Source: https://www.artbarblog.com/kids-crafts-tables-for-large-groups/
0 Response to "Easy Art Projects for Kids at a Tabling Event"
Post a Comment